I have lots of 18650 Lithium-ions lying at home. I’ve got them from dead laptop battery packs, hope to find some decent cell inside. I’ve got many dead cell, but sometimes I got good cell (75% or more of their original capacity)
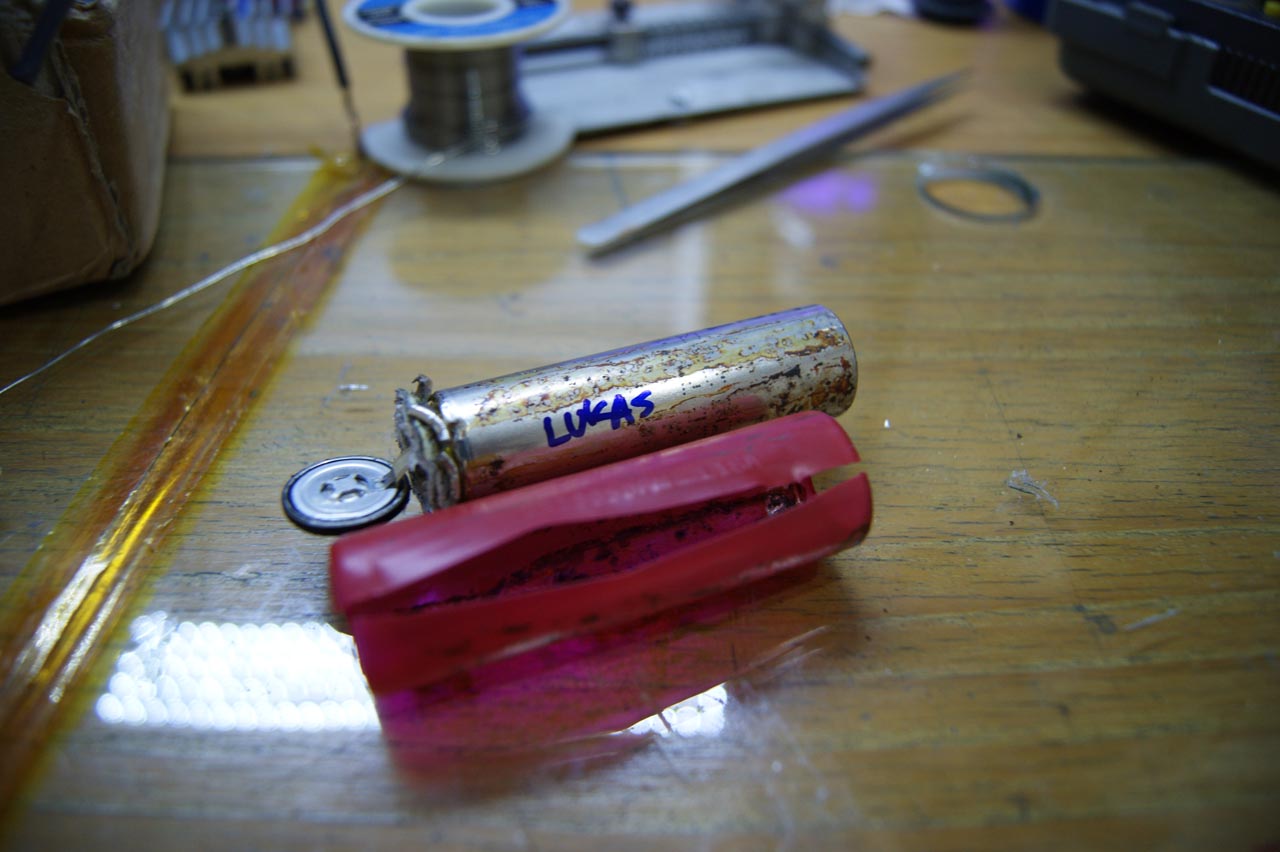
And, yesterday (11 October 2014), my curiosity calls my hand to tear one of them. I’ve got leaked cell, the gas/pressure already escaped, because of the bad welding spot, that makes the canister leaked. So, it’s quite safe to assume there’s no more pressure inside.
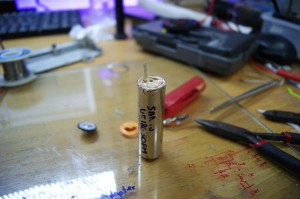
The battery was Sanyo UR18650FM – 2600mAh got from 6-cell Toshiba laptop battery packs. I can’t find the exact datasheet for that battery, but I’ve found the siblings, UR18650F, same capacity, dunno what the differences, but some people at forum says it’s almost the same, as have same capacity.
Here is the UR18650F Datasheet, include the safety precaution too. DOWNLOAD
The battery was already completely dead, exactly 0 volts, and almost no resistance between the terminal, indicate the crystal already build up, making the plate short out. And, I assume (my assumption can be go wrong) that the battery have no or just a little energy to explode/starting fire/burn my hands, desk, house/starting a firecracker/melting stell/ {insert your own imagination here}.
PLEASE, ONCE AGAIN PLEASE, DO NOT TRY THIS AT HOME OR AT SCHOOL, AT LABS, OR EVERYWHERE YOU LIVE! LITHIUM CAN BE EXTREMELY DANGEROUS IF UNPROTECTED! THERE’S INCIDENT THAT THE BATTERY EXPLODE AND BREAK A GLASS, INJURED THE HANDS BADLY, TURNING TO BE A FLAMETHROWER AND BURNING ENTIRE GARAGE, ETC. You can watch it on youtube.
[External link] READ MORE about safety in lithium battery : Battery University
– Luckily, there’s no incident in this crazy experiment, no blood, no fire, just some mess and lithium fumes/smell-
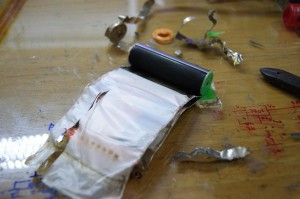
Now, let the pictures say.
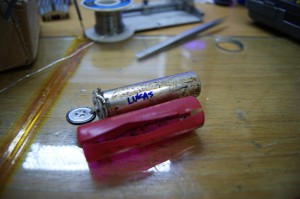

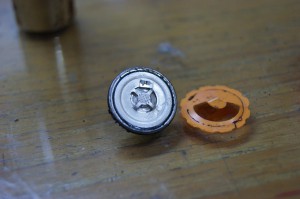
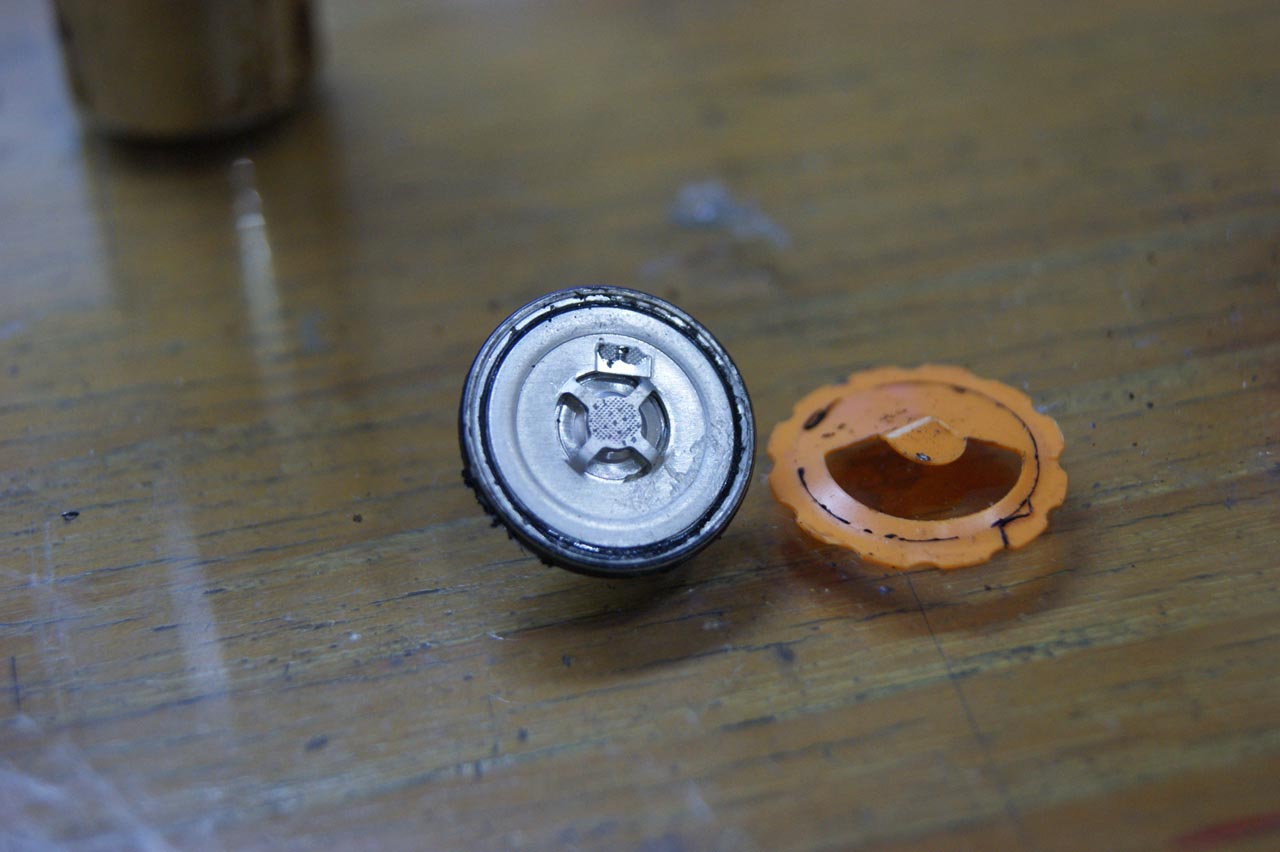
the pressure valve
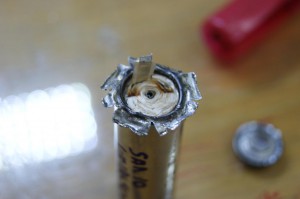
the positive terminal

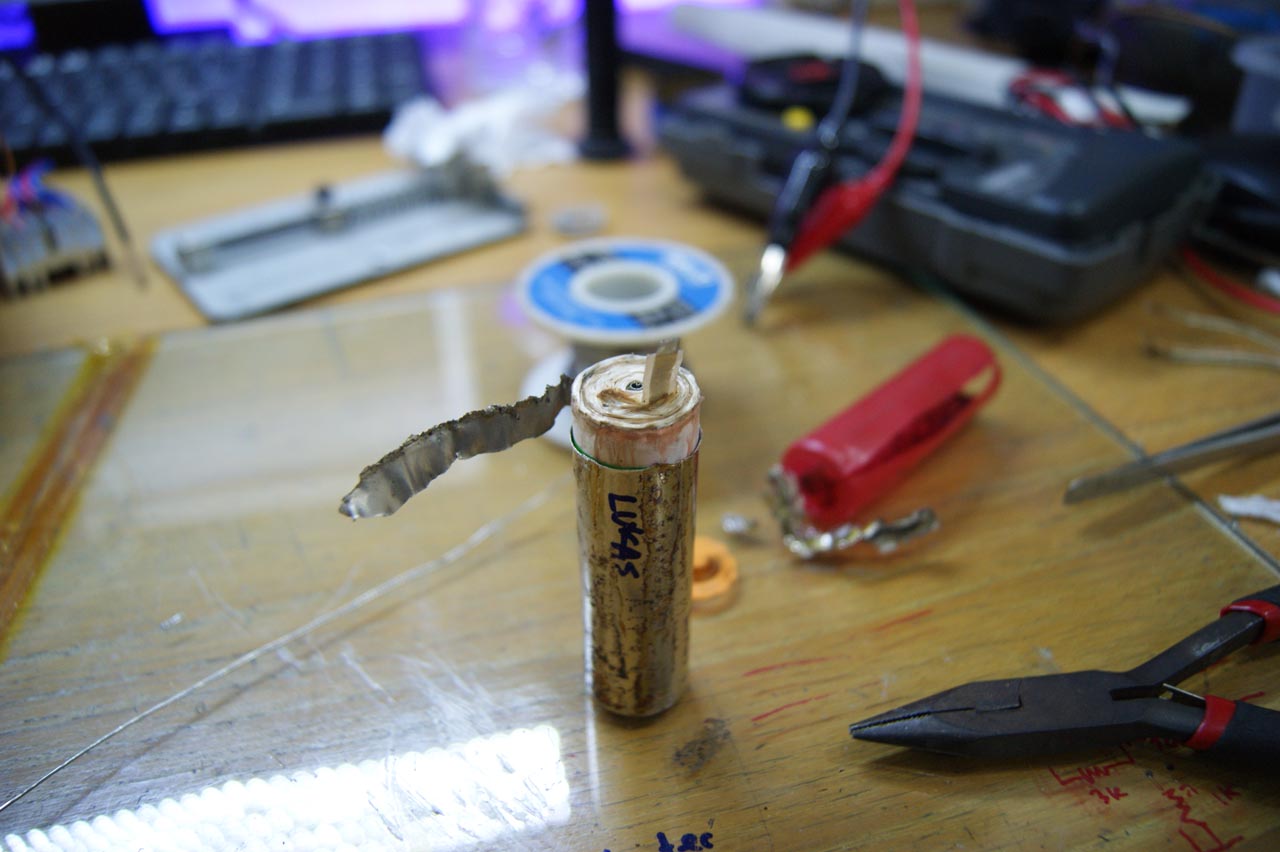
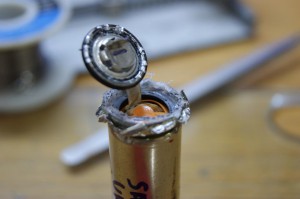
I can’t pull out the cells – it turns out because the negative terminal was soldered to the bottom of the cell canister.
The negative terminal
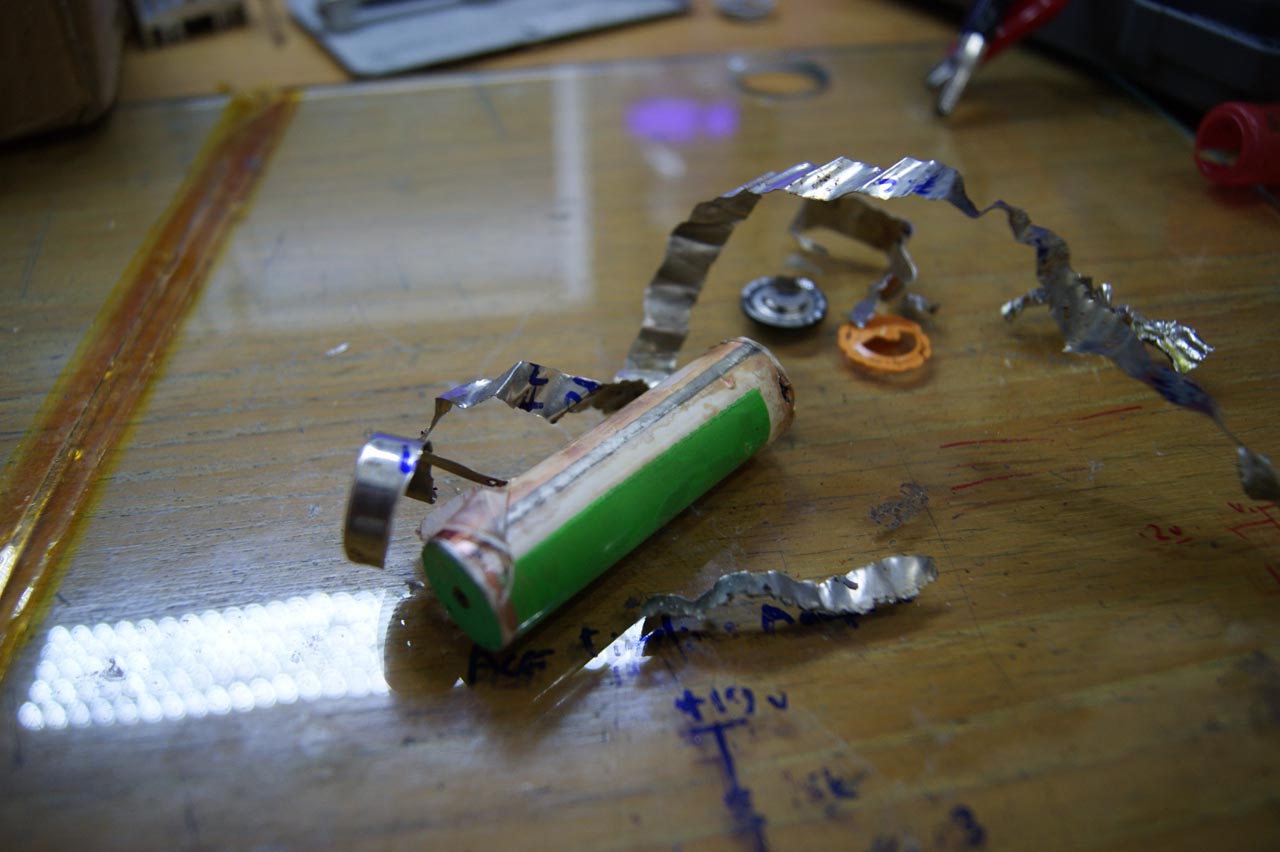
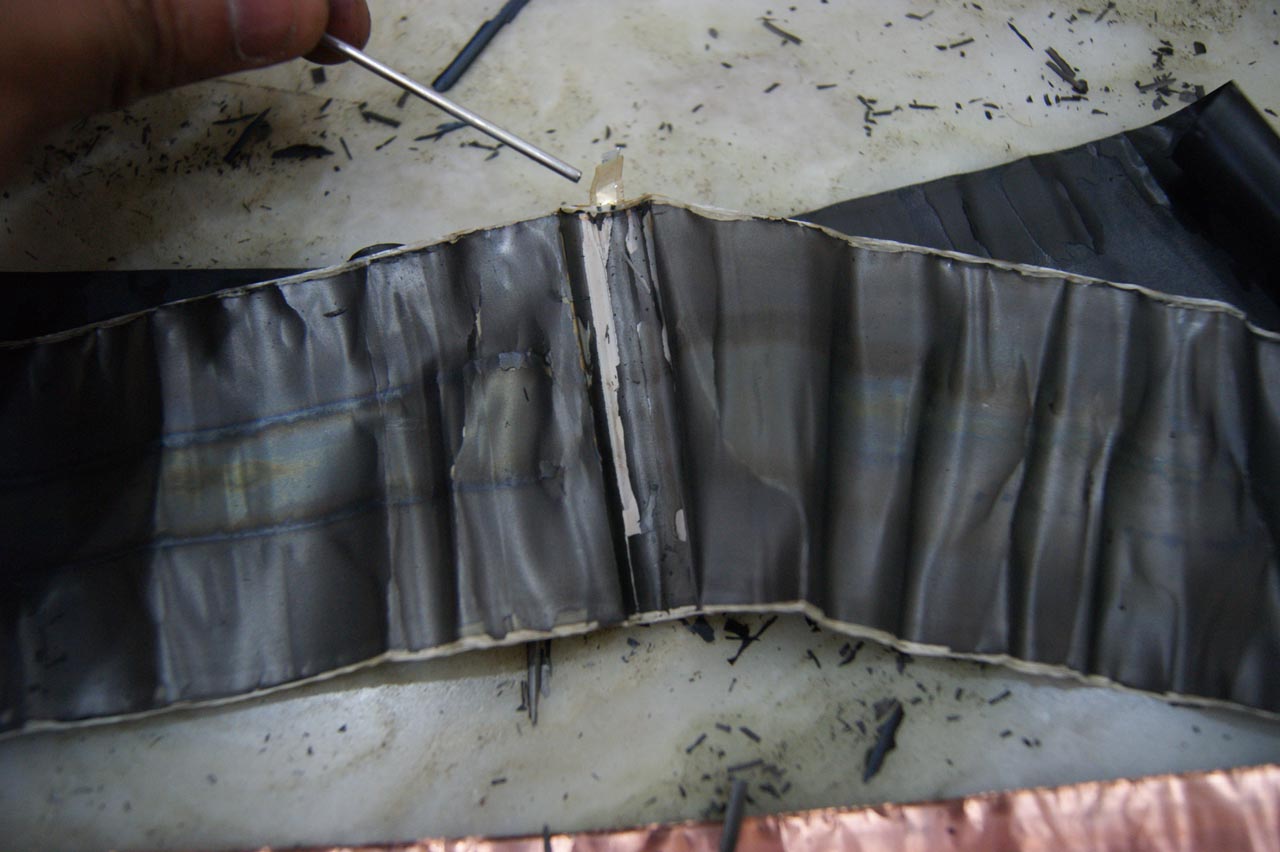
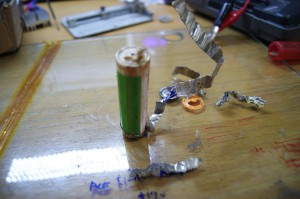
Time to unroll~ rollin’ rollin’
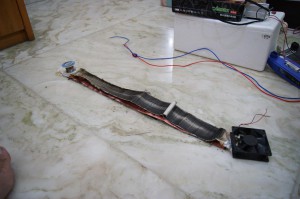
It was 4 layers-
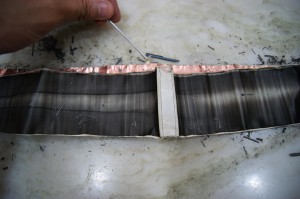
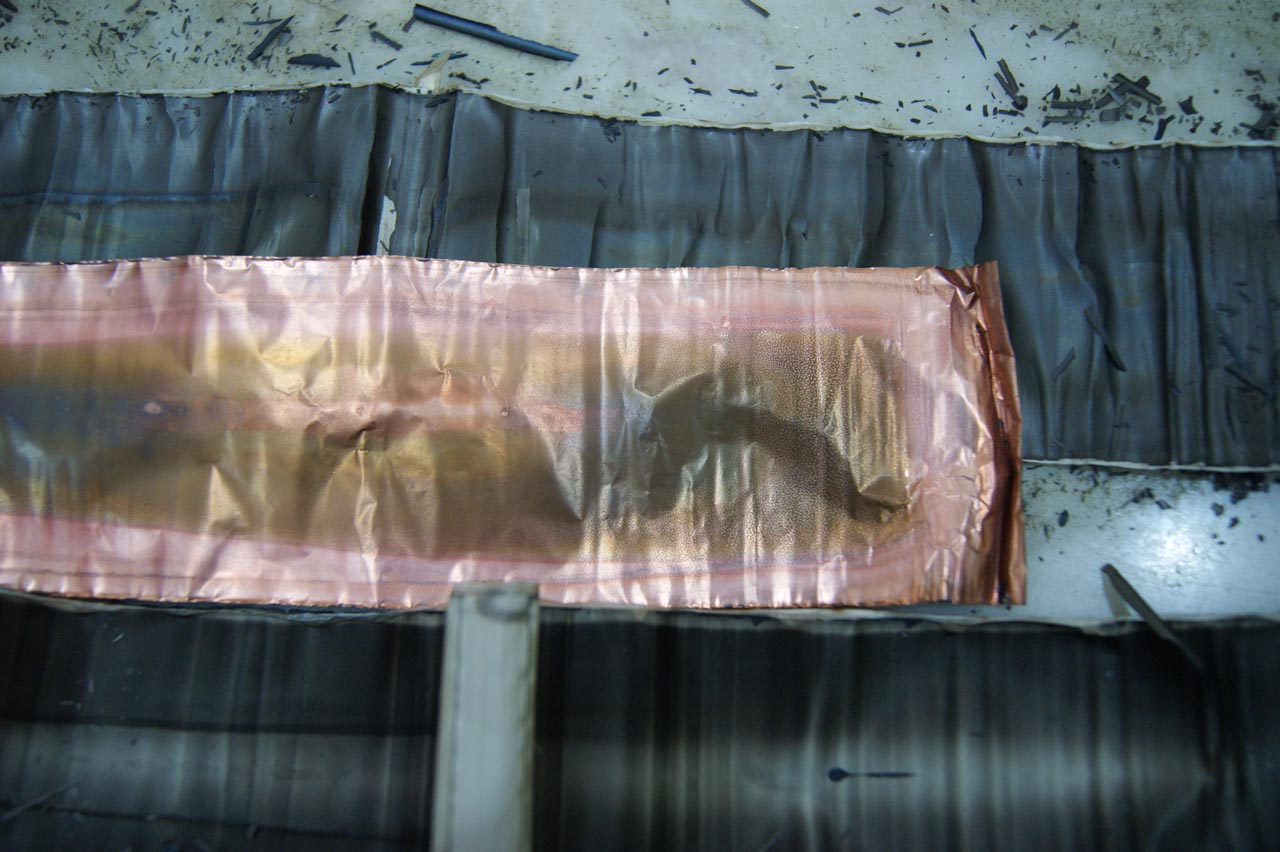
the positive terminal
negative terminal

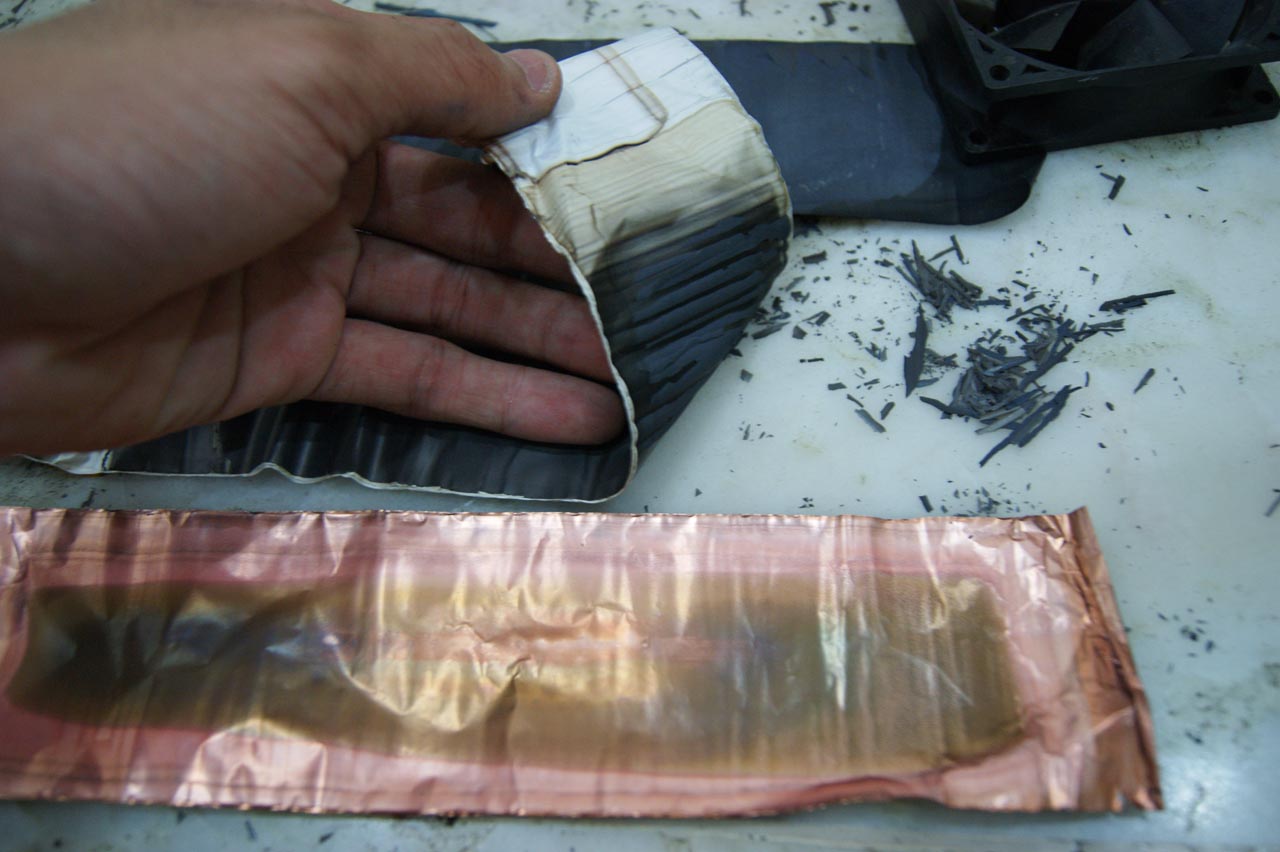
positive terminal again. It was attached to bottom layer.

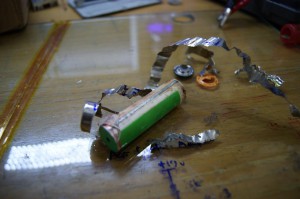
negative terminal (again)

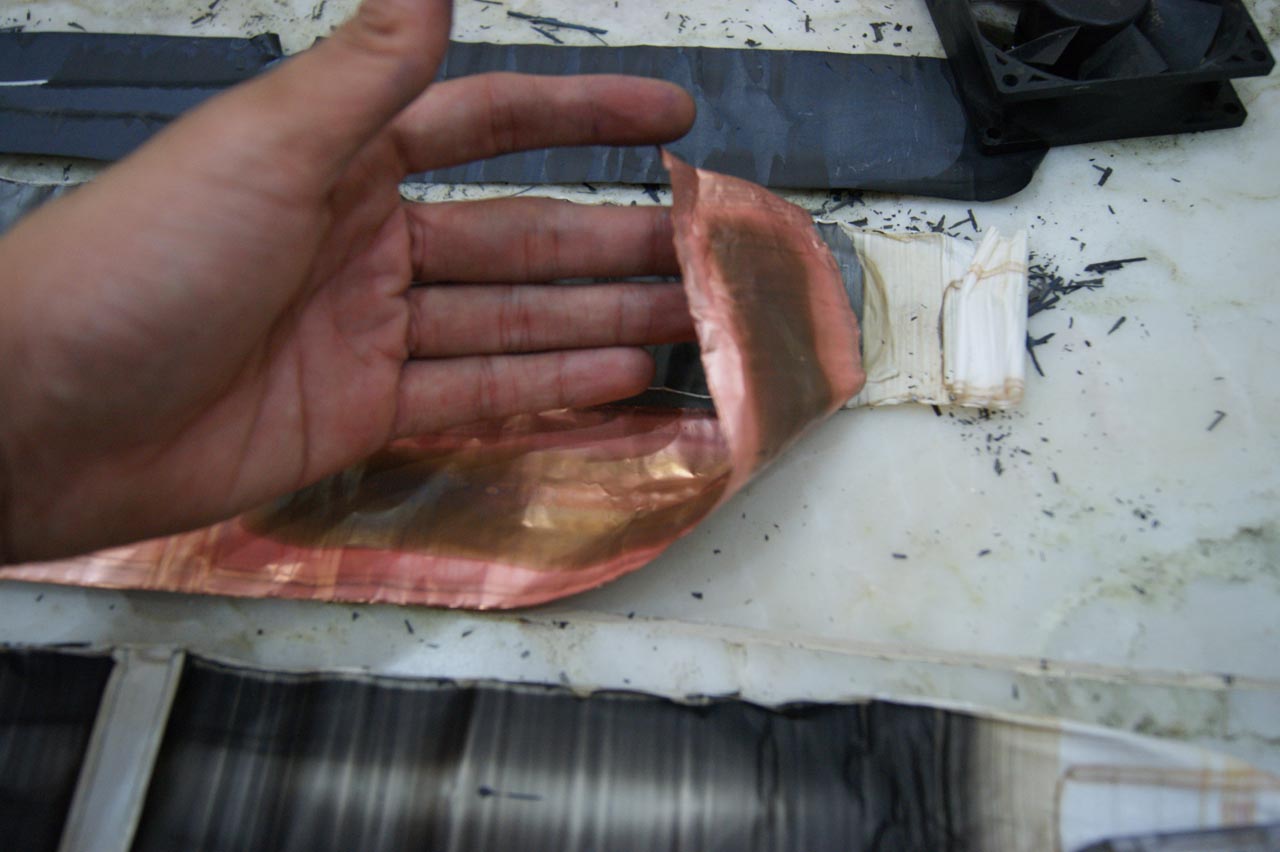
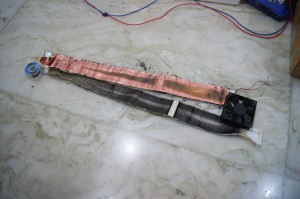
something was like “burned” the foil — indication of dead cell?


Repack?
and, charge it again? lol! It was shorted somewhere inside, I was tried to doing crazy, charge it with 12volts.
the lithium mess
Bye-bye. You’ve being a hero, serving years to power up the laptop, fulfilled my curiosity, and learned me about the cylindrical lithium-ion battery.
Thanks for reading!